
© doanehoag.com Imagery and content is copyrighted, please respect my work and contact me if you have any questions, Thank you
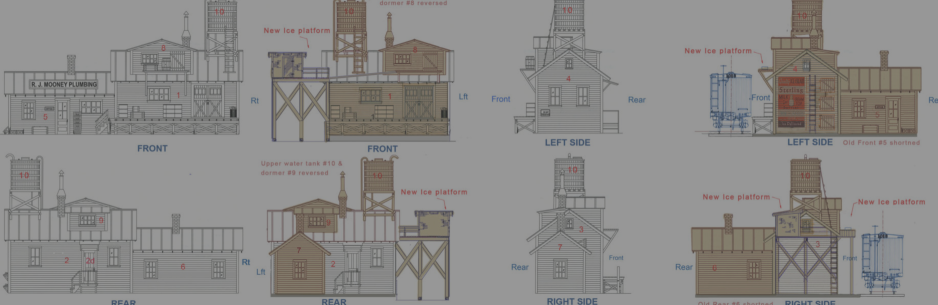





Major alteration of Bar Mills kit, Mooney’s Plumbing for conversion to Sterling Ice & Dairy Co. in the Triptych Diolrama
Origins and Early Development
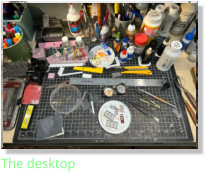
The term "diorama" comes from the Greek roots di- meaning "through" and orama meaning "that which is seen" or "a view.” It was coined by Louis Daguerre in 1822, who, along with Charles Marie Bouton, created theatrical displays in Paris that used translucent paintings and variable lighting to simulate depth, movement, and changing landscapes These early dioramas were often large-scale, immersive experiences, sometimes accompanied by music or narration, and were designed to astonish audiences with realistic effects such as sunrise, moonlight, or weather changes. (Wikipedia) The following is a brief explanation of what is involved in creating my diorama miniature scenes. There are very fine scale model kits of buildings, most based on actual buildings that exist in real life. I sometimes use these kits and then alter them a great deal. Other times I construct the buildings completely from scratch, like the Waiting for Godot diorama. Bare strip wood, pink building foam, and textured bare wood siding, detailed cast doors and windows, chimneys, barrels, etc., along with my original designed signs are created. Below are some photos with explanations of the process. The final result is not a constructed, duplicated kit from another creator, but a unique, original art piece akin to a fine arts multi media construction; each one with a story to tell. Below are a few photos of the working materials and a brief explanation of the process I used to design and build them.
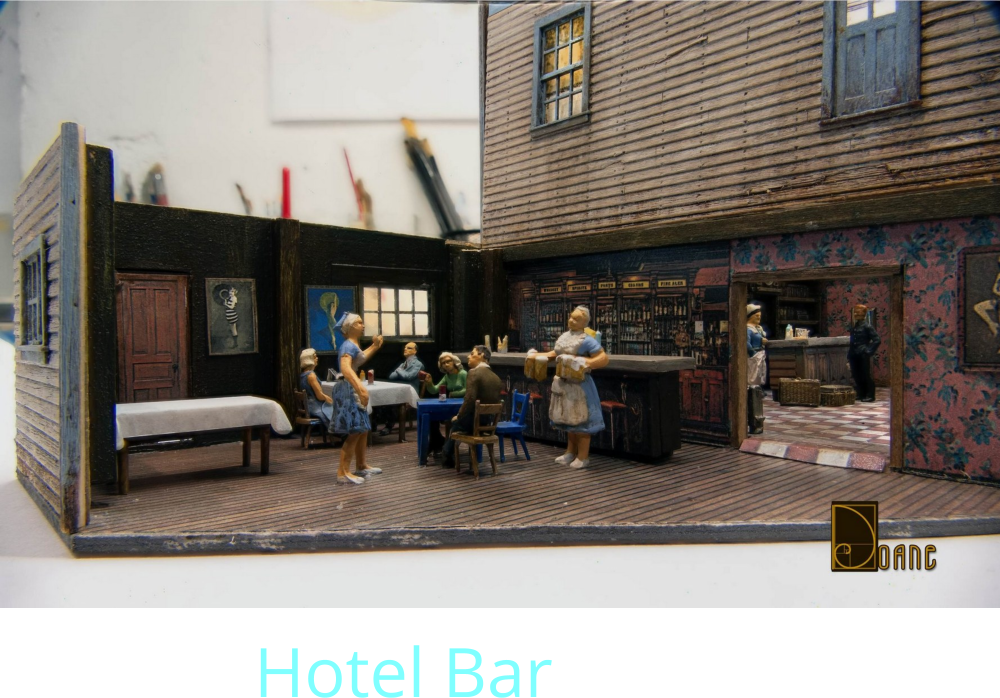
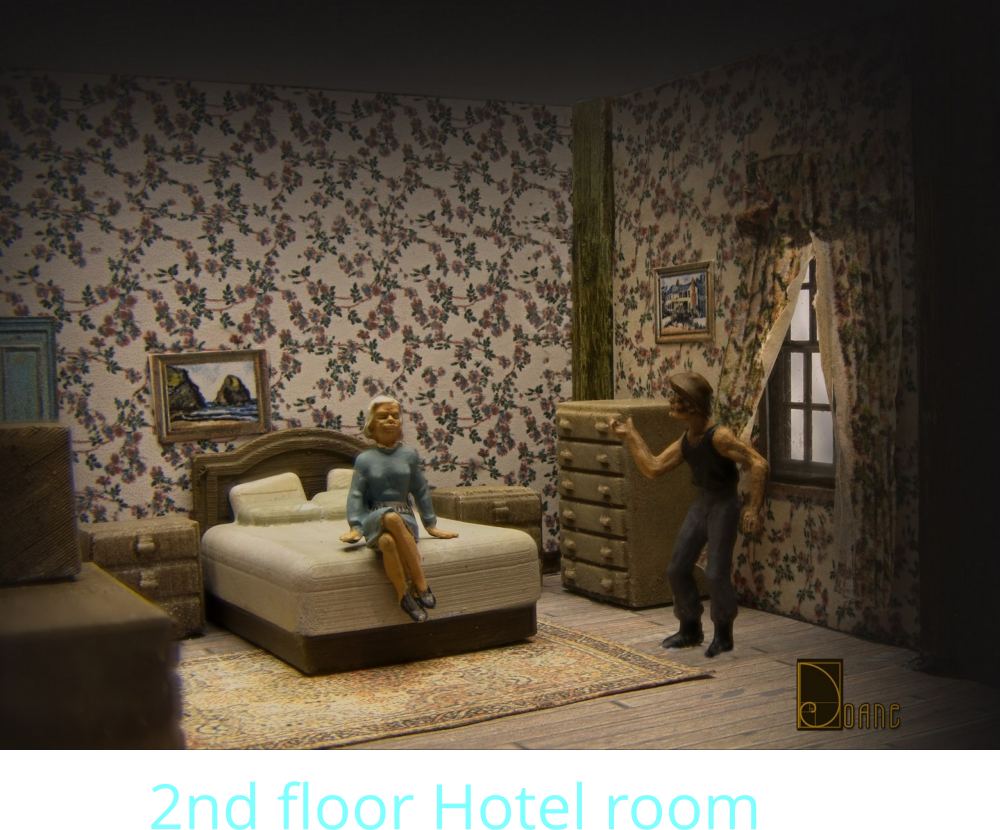 One counter example
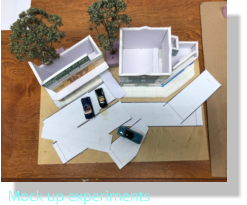
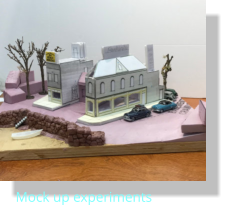

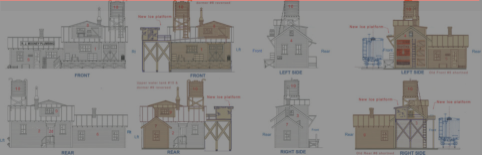
On the left are some examples of the early stage planning which
involves making full size reproductions of the main buildings
to see how they fit on the restricted plywood base board. Shown
are two different dioramas from the past. At this point the
arrangements are critical for later photo shoots and I often take
shots so I can see how the final shots will show desired elements.
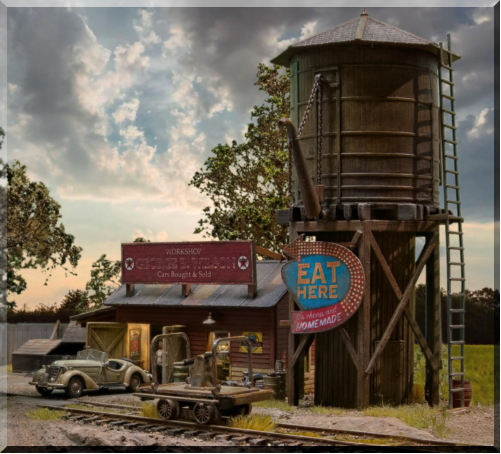
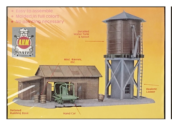
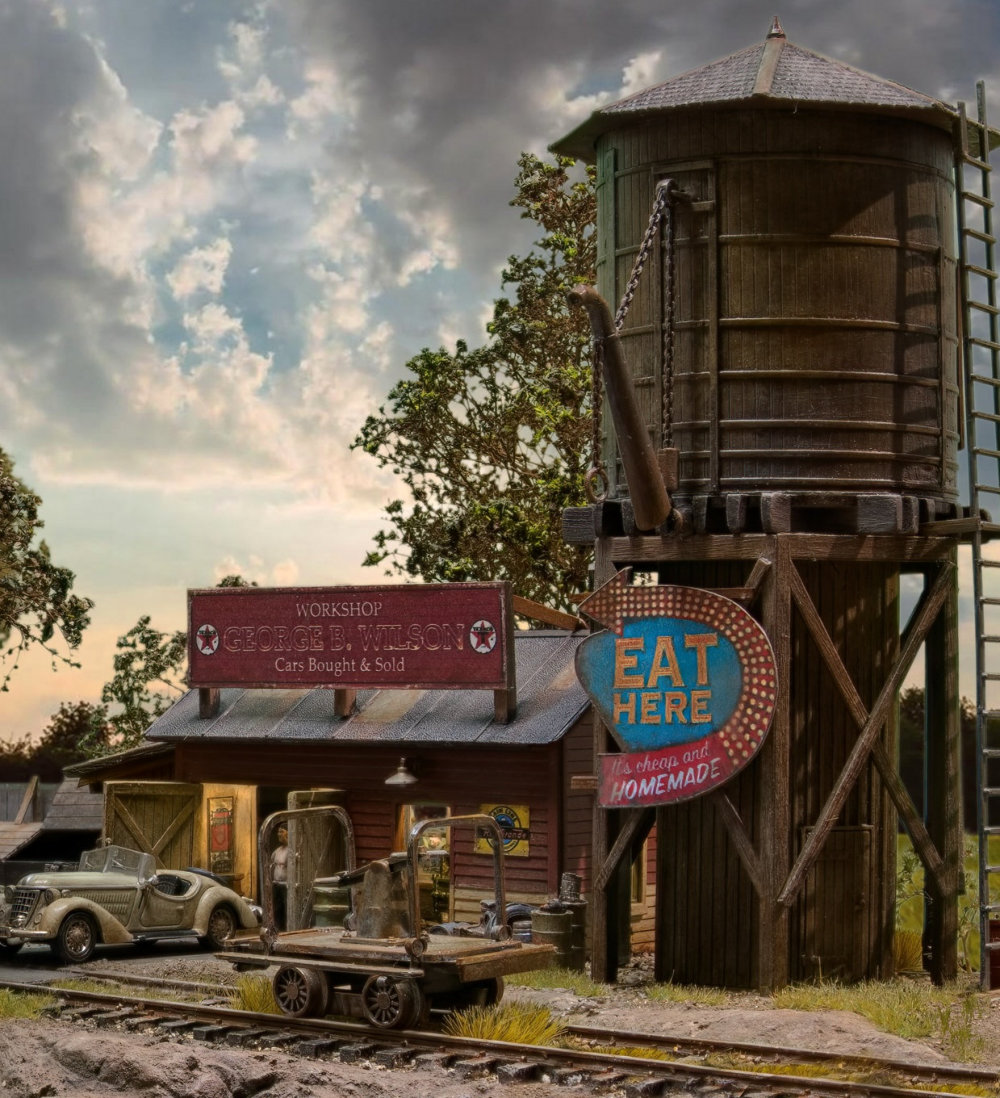
Below is a good example of a 1950’s cheap styrene kit and the
results after extensive work embellishing it, altering it, painting
and weathering it, adding custom signs, creating the scenery and
then photographing it, editing out the background and overlaying
it on a sky background photo.
Visit the My Gatsby diorama. Hover below for a larger image.
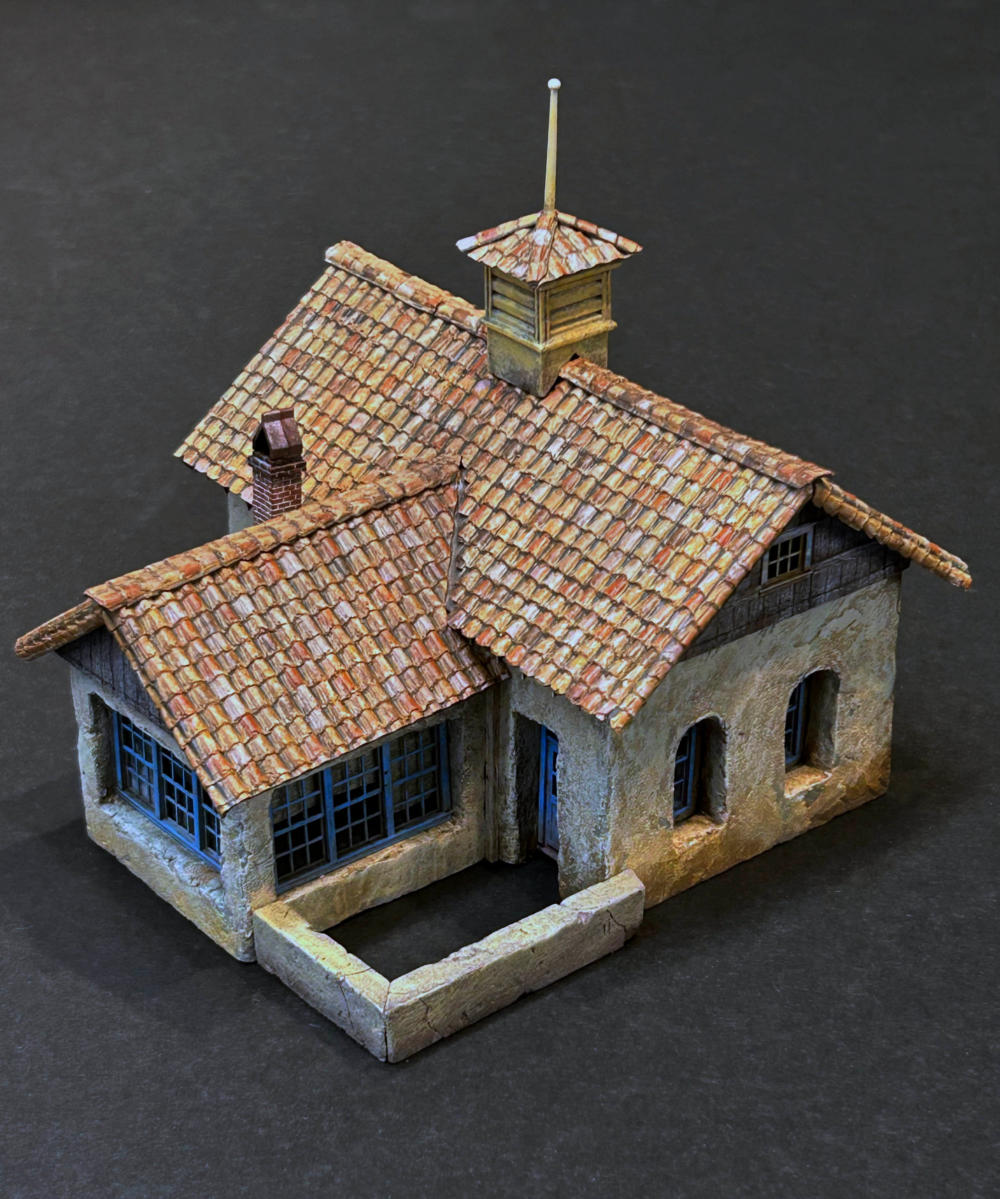
Below: XPS pink building insulation ridgid foam boards are used for my
scenery along with plaster and it is also used for creating scratch built
buildings This is an example of a building carved from foam in process
and the final finished result which is in the Waiting for Godot diorama.
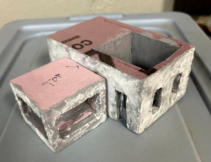

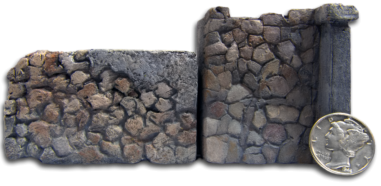
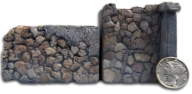
An example below of a foam carved stone wall
used in the Triptych diorama:
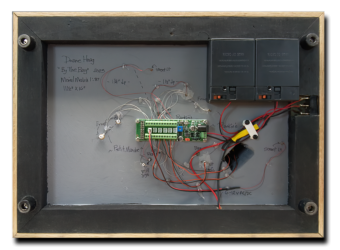
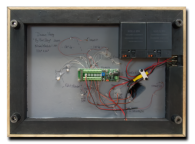
Left and Below All my dioramas are powered by standard
batteries and some are also able to use wall warts. The
lighting is in the form of sub miniature LED bulbs and
they can be easily replaced if they ever burn out as they
enter the buildings via tubing.
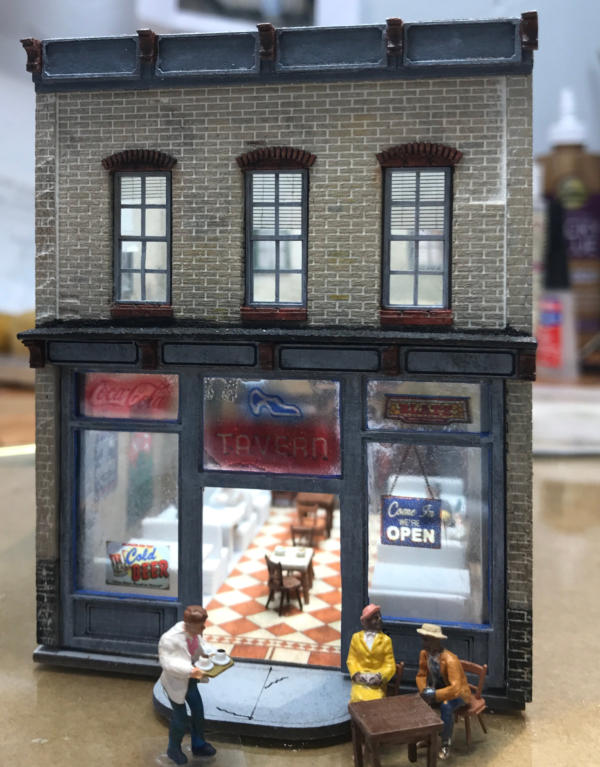
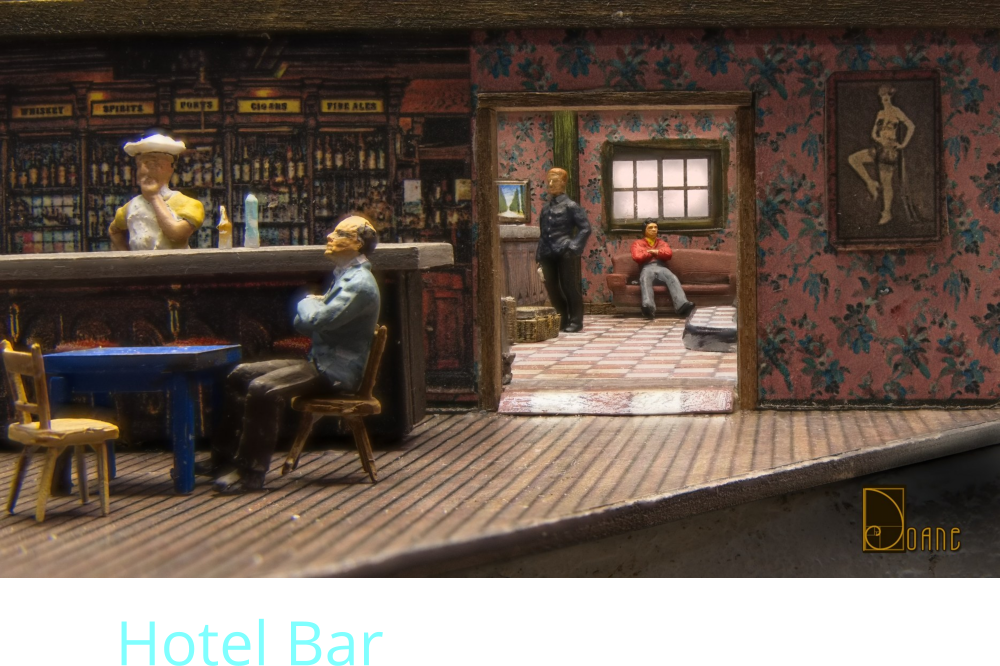
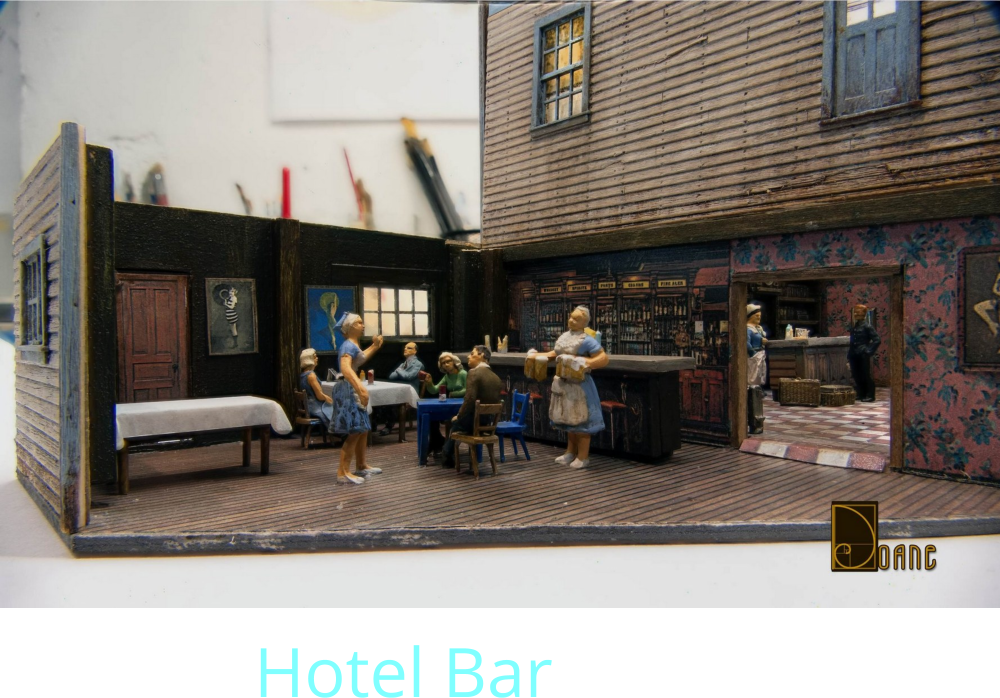
Below are a few lighted interiors
from the Vice & Versa diorama:
Three Vices in progress
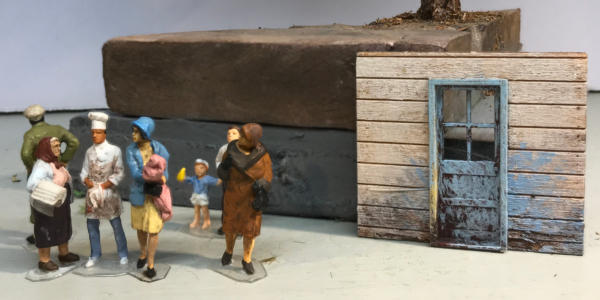

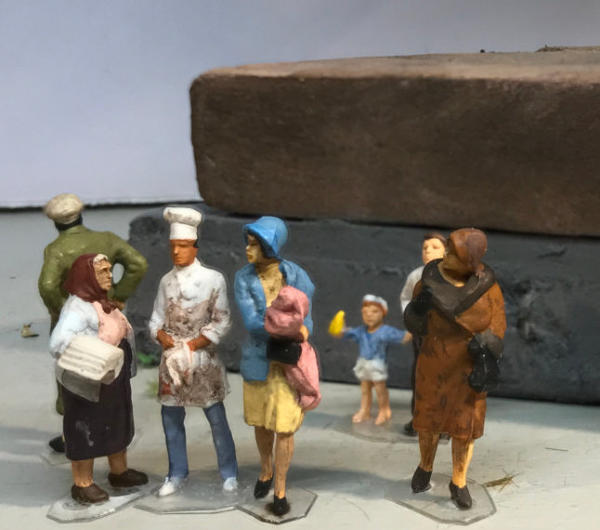
People are 1:87 scale, about ¾” tall and are
hand painted sourced from Germany & England.
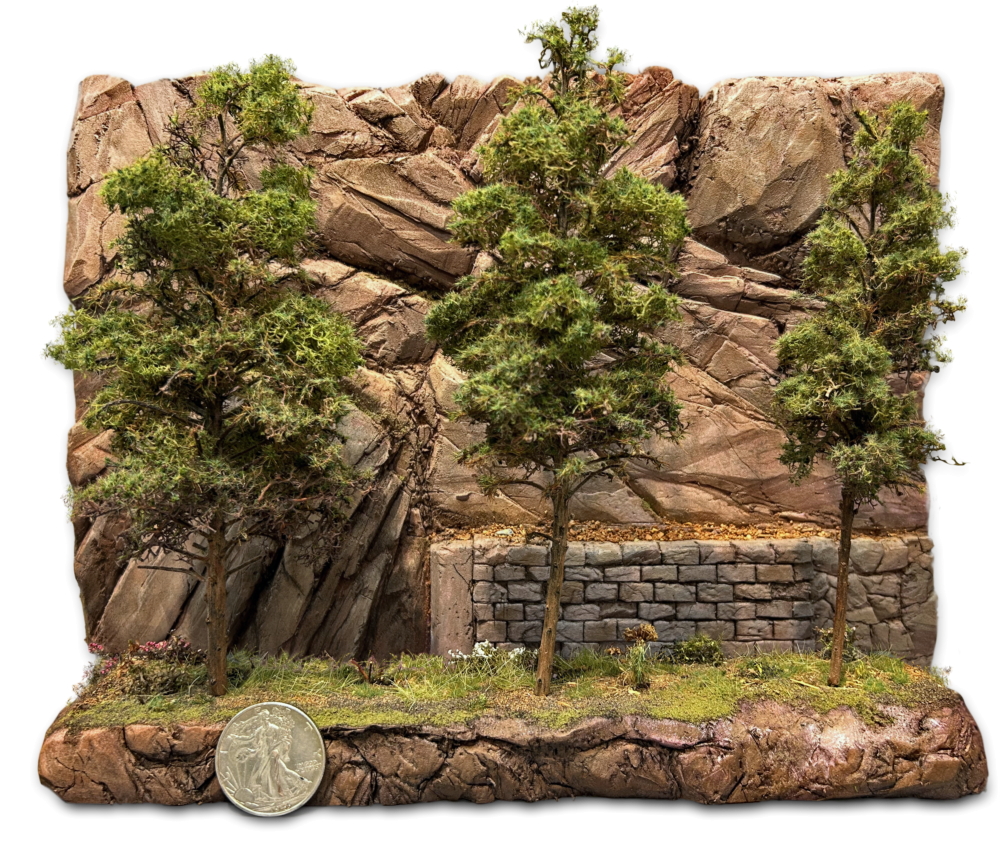

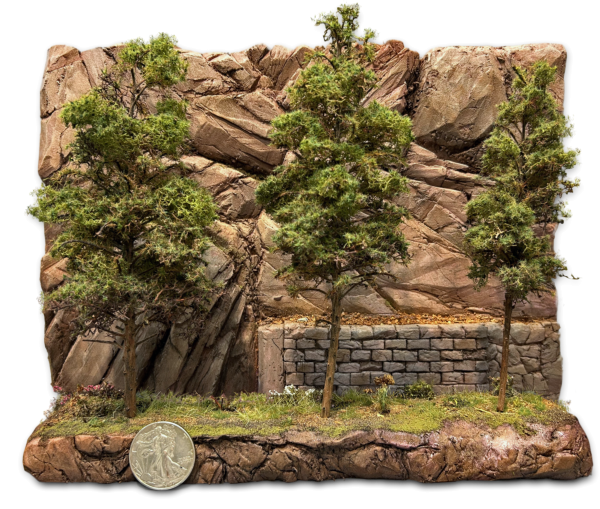
Trees and other scenery items are made from hand
textured and painted dried twigs and mosses, along
with dyed sawdust, herbs, dried and sifted dirt,
electrostatic particles and other items.


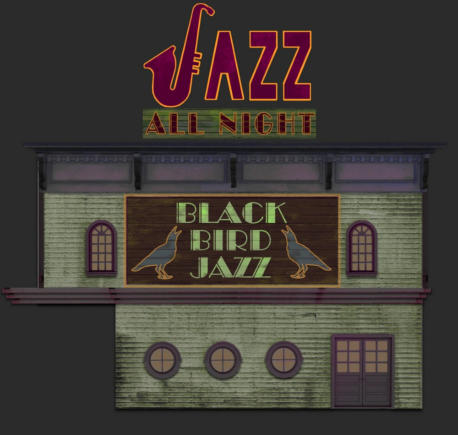
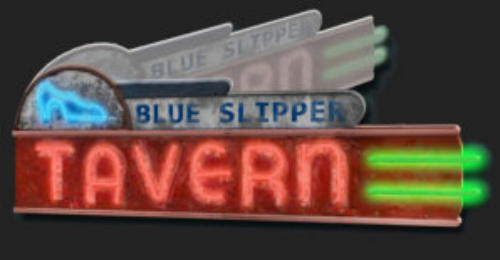
The following are various signs I have created for the various diorama models including the fish truck just
above. I design these in Photoshop and then print them out on various types of paper or on transparent
film for windows. The crates up above are made from stiff paper that I print and then fold and assemble.


The real Blue Slipper left and my sign, above, for The Three Vices diorama shown
Signs for The Vice & Versa diorama
A Tichy styrene kit painted and weathered for the Triptych diorama
By the Bay signs
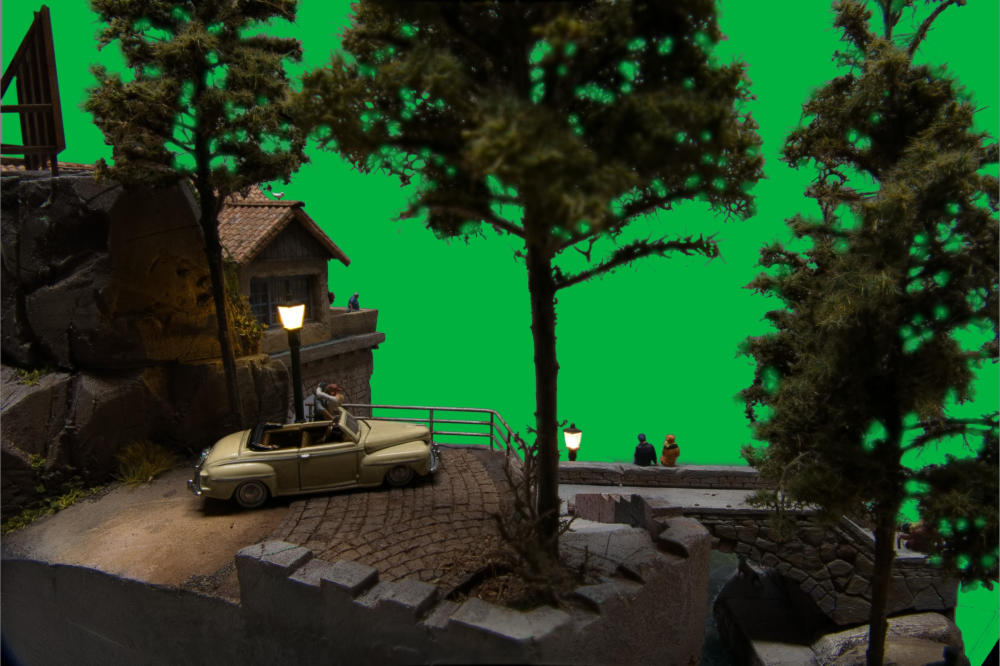
The Photographic and digital techniques: The initial design and then the mock ups are crucial to the later photo sessions that are done after
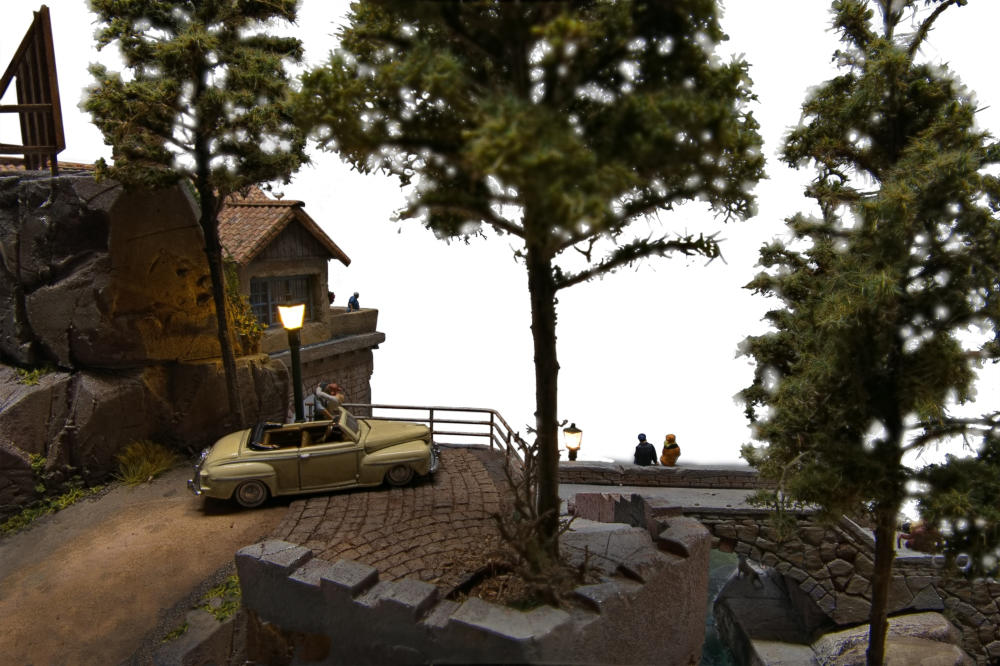
the model is complete. I take hundreds of shots on a tripod against a “Green Screen” using a stacked focus system. These are then
“assembled” by using a digital process that assembles the in focus areas into a single in focus result from foreground to background. The best
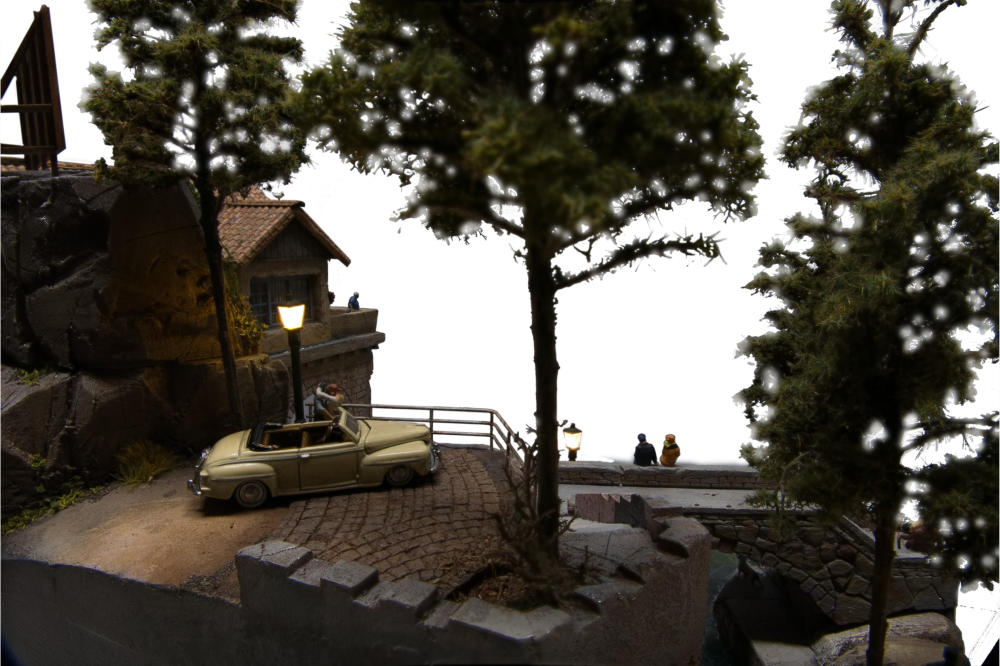
shots are then edited to “drop out the “green screen” areas leaving a layer that can overlay any background scenic images I want. These
images are photos I have taken or are non copyright photos I have found on line. With the model photo overlaying a back drop photo, or
photos I have combined and edited, I then use Photoshop to digitally draw, “clone” in parts of the model to fill in gaps. Here is an example
from the Waiting for Godot diorama:
•
On the left, the original “stacked” RAW photo against the “green screen”
•
The “green screen” is edited out using Photoshop (I have an old 2006 CS5 version)
•
The RAW 48bit image is edited to bring out the shadow areas and details of the original and the
drive has been cloned into the left bottom corner as well as filling in a gap in the bottom right corner.
•
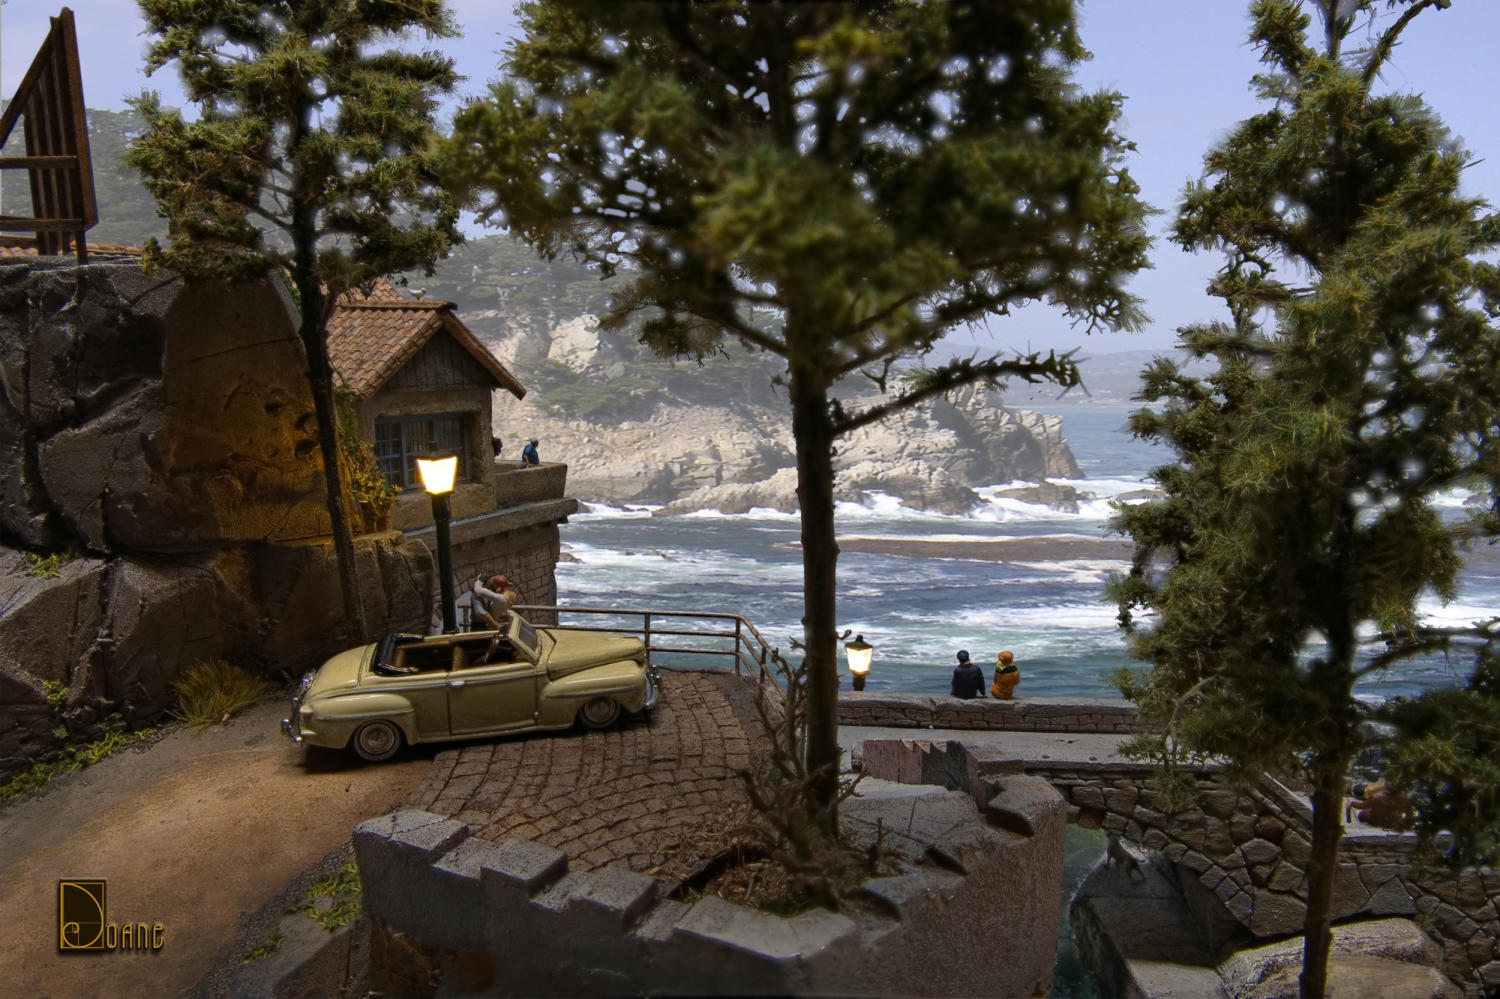
Here is the slightly edited/flipped photo I took at Point Lobos that I decided to use for the back ground
•
The model shot overlay on the photo
•
The final result after adding a white transparent “veil’ layer over the background photo to tone it down






Technique
Major alteration of Bar Mills kit, Mooney’s Plumbing for
conversion to Sterling Ice & Dairy Co. in the Triptych Diolrama
The term "diorama" comes from the Greek roots di- meaning
"through" and orama meaning "that which is seen" or "a
view.” It was coined by Louis Daguerre in 1822, who, along
with Charles Marie Bouton, created theatrical displays in
Paris that used translucent paintings and variable lighting to
simulate depth, movement, and changing landscapes.
(Wikipedia)
The following is a brief
explanation of what is
involved in creating my
diorama miniature scenes.
There are very fine scale
model kits of buildings, most
based on actual buildings that
exist in real life. I
sometimes use
these kits and then alter them a great deal.
Other times I construct the buildings
completely from scratch, like the Waiting for
Godot diorama. Bare strip wood and textured
bare wood siding along with detailed cast doors
and windows, chimneys, barrels, etc., along
with my original designed signs are created.
Below are some photos with explanations of
the process. The final result, not a constructed,
duplicated kit from another creator, but a unique, original art
piece akin to a fine arts multi media construction; each one
with a story to tell. Below are a few photos of the working
materials and process I use to design and build these.

Above are some examples of the early stage planning which
involves making full size reproductions of the main buildings
to see how they fit on the restricted plywood base board.
Shown are two different dioramas from the past. At this
point the arrangements are critical for later photo shoots
and I often take shots so I can see how the final shots will
show desired elements.
Below: XPS pink building insulation
ridgid foam boards are used for my
scenery along with plaster and it is
also used for creating scratch built
buildings Below is an example of a
building carved from foam in process
and the final finished result which is
in the Waiting for Godot diorama.


An example below right of a foam carved
stone wall in the Triptych diorama and
to the left and below the carved foam
for the Godot
Left and above All my dioramas
are powered by standard
batteries and some are also
able to use wall warts. The
lighting is in the form of sub
miniature LED bulbs and
they can be easily replaced if
they ever burn out as they
enter the buildings via tubing.
Below are a few lighted interiors
from various dioramas:
Three Vices
in progress
People are 1:87 scale, about ¾” tall and are
hand painted from Germany & England.
Trees and other scenery
items are made from hand
textured and painted dried twigs and mosses, along with dyed sawdust, herbs, dried and sifted dirt, electrostatic particles and other items.


The following are various signs I have created for the various
diorama models including the fish truck just above. I design
these in Photoshop and then print them out on various
types of paper or on transparent film for windows. The
crates up above are made from stiff paper that I print and
then fold and assemble.




The real Blue Slipper left and my sign, above, for
The Three Vices diorama shownan to its right.
Signs for The Vice & Versa diorama
A Tichy styrene kit painted and
weathered for the Triptych diorama

Below right is a good example of a 1950’s cheap styrene kit
and the results after extensive work embellishing it, altering
it, painting and weathering it,
adding custom signs, creating
scenery and then photographing
it; editing out the background
and overlaying it on a sky
background photo.
Visit the My Gatsby diorama.
Hover right for a larger image.

The Photographic and digital techniques: The initial design
and then the mock ups are crucial to the later photo
sessions that are done after the model is complete.
I take hundreds of shots on a tripod against a “Blue Screen”
using a stacked focus system. These are then “assembled”
by using a digital process that assembles the in focus areas
into a single in focus result from foreground to background.
The best shots are then edited to “drop out the blue screen”
areas leaving a layer that can overlay any background
scenic images I want. These images are photos I have taken
or are non copyright photos I have found on line. With the
model photo overlaying a back drop photo, or photos
I have combined and edited, I then use Photoshop to
digitally draw in parts of the model to fill in gaps. Here is
an example from the Waiting for Godot diorama:
•
On the left, the original “stacked” RAW photo against
the “green screen”
•
The “green screen” is edited out using Photoshop
(I have an old 2006 CS5 version)
•
The RAW 48bit image is edited to bring out the shadow
areas and details of the original and the drive has been
extended into the left bottom corner as well as filling
in a gap in the bottom right corner.


•
Here is the slightly edited/flipped photo I took at Point
Lobos that I decided to use for the back ground.
•
The model shot overlay on the photo.
•
The final result after adding a white transparent
“veil’ layer over the background photo to tone it down.
